Using a Milwaukee Circular Saw is easy and efficient. First, make sure the saw is properly connected to a power source before you begin working with it. Next, attach the blade of your choice to the spindle arbor on the saw.
Make sure that all safety guards and shields are in place before continuing. After this, measure and mark off where you need to cut on your material; then use clamps or other appropriate methods to secure it in place if needed. Finally, start up the saw at its lowest speed setting and slowly move it into position along your marked line while increasing speed as necessary until you have completed your cut!
Always remember to wear proper safety equipment such as eye protection when using any power tool for added safety measures!
- Step 1: Read the Instruction Manual – Before using any power tool, it’s important to read and understand the instruction manual. Different models of Milwaukee circular saws may have different features, so be sure to familiarize yourself with your particular model before use
- Step 2: Connect Power Source – Plug in your Milwaukee circular saw into a suitable power outlet and turn on the switch located on top of the handle. If you’re using a cordless version, insert batteries into both sides of the handle.
- Step 3: Adjust Settings – Depending on what type of material you are cutting through and its thickness, adjust settings such as blade depth and speed accordingly. Refer to your instruction manual for step-by-step instructions regarding adjustment settings for specific materials or tasks
- Step 4: Secure Work Piece – Place wood or other material being cut onto a stable surface and secure it using clamps if necessary. This will ensure that it remains stationary while you work with your Milwaukee circular saw, preventing potential injury from movement while cutting through thicker materials more quickly than expected due to an uneven surface below them.
- Step 5: Start Cutting – As soon as you’re ready to start cutting, press down firmly but gently onto the trigger located at the front end of your Milwaukee circular saw’s handle with one hand (while keeping a firm grip on the back end) until the blade begins rotating fast enough for the effective cutting action. Keep hands clear from the blade’s path when beginning this process!
Milwaukee Circular Saw Manual
The Milwaukee Circular Saw Manual is an essential resource for anyone who owns a Milwaukee circular saw. It provides detailed instructions on how to use the tool safely and efficiently, as well as troubleshooting tips and parts lists should any repairs or maintenance be necessary.
Whether you’re a professional contractor or just a DIY enthusiast, having this manual in your arsenal will ensure that you get the most out of your Milwaukee circular saw.
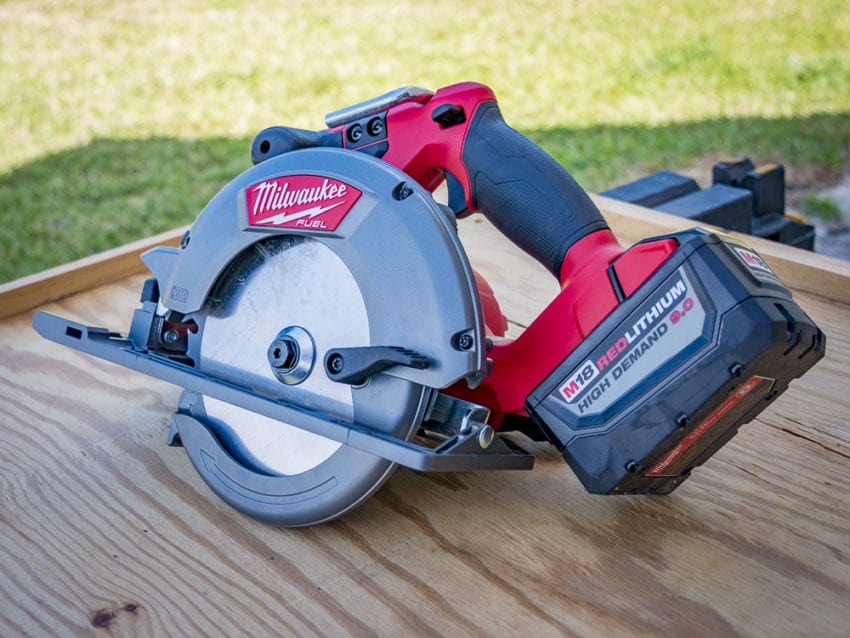
Credit: www.protoolreviews.com
How Do You Use a Circular Saw Step by Step?
Using a circular saw is a great way to make precise cuts in any material. Before you start cutting with the saw, it’s important to ensure that your work area is safe and secure and that all necessary safety precautions are taken. To begin using the saw, carefully attach the appropriate size blade to the arbor of the saw.
Then, adjust any settings on the tool such as depth or angle if needed. Once everything has been set up correctly, you can plug in your saw and turn it on. When ready to cut, firmly grasp both sides of the handle with both hands at all times while keeping your fingers away from where they could potentially be cut by the blade.
Line up your desired cut line with either marking on top of your piece or use a guide for more accurate results. Finally, when ready push down slowly but steadily until you reach the end point before releasing pressure and turning off the power switch.
How Do You Use a Milwaukee M12 Circular Saw?
To use a Milwaukee M12 Circular Saw, first, make sure the saw is securely fastened to the work surface. Make sure that your hands are away from the blade and that there is no debris or dust on the saw table. Turn on the power switch and adjust it to your desired speed setting.
Next, align your material with the cutting line you have marked out, then bring down the handle of the circular saw with one hand while guiding it along with your other hand until you reach your endpoint. Once complete, turn off the power switch and release the handle to stop operation before removing the material from underneath the blade.
How Do You Put the Blade on a Milwaukee M18 Circular Saw?
Putting the blade on a Milwaukee M18 circular saw is relatively easy to do. First, ensure that the power switch is off and unplugged from the wall outlet. Then, remove the lock key by loosening its screw with an Allen wrench or flathead screwdriver.
Once this is done, you can then rotate the blade guard to expose the arbor nut which holds in place your existing blade or one you are looking to install. Use either a socket wrench or a special arbor nut tool (included) to loosen and remove it completely.
Finally, slide in your new saw blade making sure that all of its teeth face forward toward your cutting line before securing firmly with your arbor nut and tightening it back into place using either a socket wrench or a special arbor nut tool again.
Which Way Does a Milwaukee Circular Saw Blade Go?
The direction a Milwaukee circular saw blade rotates is determined by the type of motor in your saw. If you have an electric motor, the rotation should be counter-clockwise when viewed from the front of your saw. However, if you have a cordless battery-operated Milwaukee circular saw, then it’s likely to rotate clockwise when viewed from the front.
It is important to always check your manufacturer’s manual for specific instructions before beginning any project; this will help ensure that you use the correct direction of rotation and avoid potential accidents or injury.
How to Use The Milwaukee Cordless Circular Saw
Conclusion
Overall, Milwaukee Circular Saws are easy to use and can make a daunting task much simpler. With the right preparation and setup, you will have no problems making precise cuts quickly. They are well-known for their durability and ease of use, so you can rest assured that you’re getting quality results with every project.
Furthermore, they come in various sizes and styles to suit all your needs. With this tool in your hand, you’ll be able to tackle any job with confidence.
Table of Contents