To straighten a board on a table saw, first make sure the blade is set at the highest depth. Then place the board against the rip fence and turn the power switch to “on”. Push it through slowly until one edge of your work piece touches the miter gauge slot or line in front of you.
Now move your miter gauge away from that edge as far as possible without taking it off its track and lock it into position with its clamping lever. With both hands firmly on either side of your workpiece, push it towards the back of your saw while keeping even pressure throughout. When you reach maximum distance, turn off your saw and inspect for any warping or twisting before cutting down to size.
- Step 1: Secure the board
- Place a hold down clamp on one end of the board and secure it to the table saw’s fence
- This will help keep the board in place while you work on it
- Step 2: Adjust your blade height
- Raise or lower the blade so that it is slightly higher than half-way up through the thickness of your board, ensuring that there is always at least 1/4″ clearance between your material and blade teeth
- You may also want to lock down your rip fence for additional support
- Step 3: Turn on your table saw and slowly feed the board across its surface using even pressure from both hands as you guide it along its path towards straightening out any bends or warps in its shape
- As you do this, keep an eye on where each edge is going relative to itself and make adjustments as necessary with either hand to ensure that all edges are parallel with each other when finished feeding through completely
- Step 4 : When finished feeding through completely, turn off your table saw and remove clamps before handling further
Credit: woodworkjunkie.com
How Do You Straighten a Crooked Table Saw Board?
Straightening a crooked table saw board can be done by first ensuring the blade is unplugged and then using an appropriate straightedge. Start by placing the straightedge on either side of the board along its full length, and check for any irregularities in the board’s surface. If there are any bumps or dips, use a hand plane to level out these areas as much as possible.
Once this has been done, use clamps to secure your straight edge onto both sides of your table saw board until it is completely level. Finally, inspect the results with a long ruler before plugging in and running your table saw again.
How Do You Keep a Table Saw Board Straight?
To ensure that your table saw board is straight, it is important to use a quality rip fence. This should be securely mounted onto the saw so that it will not move or flex as you work with it. Make sure your blade and fence are properly aligned, and keep the fence parallel to the blade at all times during cutting.
You can also use a combination square to check for any inconsistencies in alignment between the edge of the material and the rip fence’s face before making each cut. Finally, take frequent measurements while cutting to make sure everything is staying straight throughout your entire project.
How Do You Square a Warped Board on a Table Saw?
To square a warped board on a table saw, start by measuring the board with a straight edge to identify how much it needs to be squared. Once you’ve determined the amount of warping that needs to be corrected, set your saw blade height so that it will cut into the middle of your board and not cut too deeply into either side. Then, adjust your miter gauge or fence so that when you run the board through, it will leave an even line across both sides of the wood.
Finally, make several passes through from one end to the other until you have achieved an even surface on both sides. If necessary for particularly stubborn warps, use sandpaper or a belt sander in conjunction with running boards through your table saw for best results.
How Do You Cut a Crooked Board on a Table Saw?
To cut a crooked board on a table saw, first use a straight edge to mark the desired line of cut onto the board. Then make sure that your table saw is set up with the blade and fence positioned at 90 degrees to each other. Place the marked side of the board against the fence and adjust it until it lines up with your mark.
Make sure you have an adequate grip on both ends of the board while pushing it through. Once you are ready, turn on your table saw and slowly push or pull the board across its surface as you follow along with your marks. If you need more precision when cutting around corners, use a jig for greater accuracy.
Afterward, be sure to double check that all edges are smoothly sanded before using in any project.
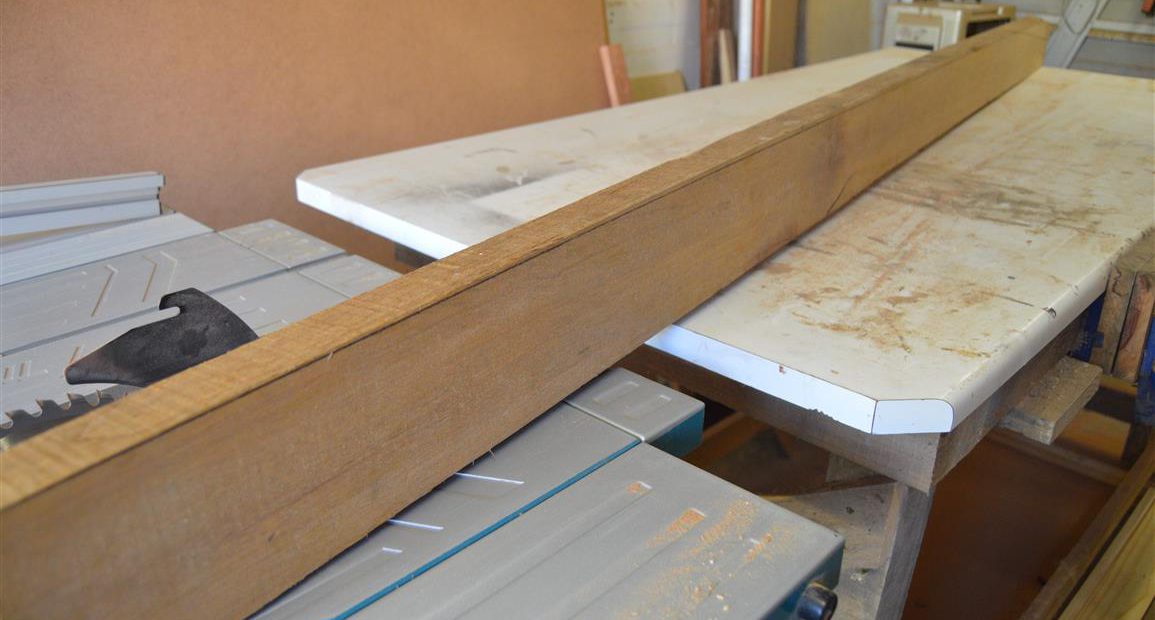
NO JIGS! -Turn a table saw into a jointer to straighten boards!
Face Jointing With a Table Saw
Face jointing is the process of running a board across the table saw’s flat surface to create a perfectly straight and smooth edge. This allows multiple boards to be connected together with glue or nails, forming a strong and even connection. It can also be used for cutting dadoes or rabbets into pieces of wood for specific projects.
Face jointing with a table saw is an essential part of any woodworking project, allowing you to achieve professional results without too much effort.
How to Straighten Wood With Water
Straightening wood with water is an effective way to restore a warped board back to its original shape. The process involves submerging the wood in warm water for several hours, then clamping it between two flat surfaces while it dries. This allows the fibers of the wood to expand and contract as they absorb and release moisture, which results in straightening out the warps.
When done correctly, this method can be used on almost any type of wooden material without damaging or distorting it further.
Table Saw Jointer Jig for Long Boards
Table saw jointers are a great way to get perfect straight edges on long boards. A table saw jointer jig is an easy-to-use tool that helps you achieve accurate and consistent results. With a jig, you can easily joint one edge of your board without having to move it around, saving time and energy.
The jig also helps reduce the risk of kickbacks by keeping the workpiece in place while guiding it through the blade. It’s an essential tool for any woodworker looking to make precise cuts quickly and safely!
How to Straighten Long Boards
One way to straighten long boards is by using a combination of clamps and heat. Begin by clamping the board in place, then use a propane torch or heat gun to apply even heat along the length of it. Make sure that you keep the flame moving so as not to overheat any one area.
Once heated, allow the board to cool naturally before releasing it from its clamps. This method should help straighten out any warped boards with relative ease.
Conclusion
This blog post provides a great step-by-step guide to straightening a board on a table saw. After reading this article, you have learned how to make sure the surface of your board is flat before cutting it, how to set up and adjust the rip fence properly, and how to use push blocks for additional safety when running boards through the saw. With these tips in mind, you will be able to confidently complete any woodworking project that involves using a table saw.
Table of Contents