To cut crown molding inside corners with a miter saw, begin by setting your saw to the correct angle. Each corner will require two pieces of molding at an opposing angle of either 30 or 45 degrees. To get the correct angle for each piece, you will need to adjust the bevel on your miter saw accordingly.
After adjusting the bevel, place one piece of crown molding in the left side of your miter saw and make a cut. Then take that same piece and turn it around so that it is facing towards you before making another cut from the opposite side. Repeat this process with the other piece of crown molding on the right side using opposing angles until they fit together perfectly.
- Measure the length of your crown molding
- Make sure to measure from the inner corner of the wall and use a miter saw to cut your molding at a 45 degree angle, with the top of it longer than the bottom for an inside corner fit
- Place your crown molding onto the miter saw bed with its face down against the fence and its back side facing up towards you
- This should be done in such a way that one end is lined up against the left edge of blade while other end is lined up against right edge of blade, creating an angle between them equal to 90 degrees when looked from above (this will ensure that both cuts are made at exact 45-degree angles)
- Securely clamp down your crown molding into place using C clamps or some other type of holding clamp system so that it does not move during cutting process
- Using mitre saw set to 45 degree angle, make first cut on left side first by slowly but steadily pushing cutting arm forward until it reaches fully extended position; this cut should leave you with piece having angled top surface & straight bottom surface which will form outside side when mounted onto wall/ceiling later on
- 5 Turn moulding around and repeat same procedure as before (making sure all measurements remain consistent) except this time making second cut starting from right edge instead; once again resulting in angled top & straight bottom which forms inside part when installed onto wall/ceiling later on
Cutting Crown Molding Inside Corners 45 Degree
Cutting crown molding inside corners at a 45 degree angle can be tricky, but with the right tools and techniques it is possible to achieve professional results. An oscillating tool or miter saw equipped with a special cutting blade designed for angles is essential for this task. Additionally, you will need to make sure that your measurements are accurate in order to ensure a tight fit when installing the moldings.
Taking the time to practice on scrap pieces of wood before attempting the real thing will help ensure success!
How to Cut Crown Molding Inside Corner 22.5 Degrees
If you want to cut a 22.5 degree inside corner on crown molding, the best way to do it is by using a miter saw with an adjustable stop block and a special jig. First, set the blade of your miter saw to 45 degrees and position the jig so that it supports your molding at a 22.5 degree angle and also serves as a guide for your saw blade when making the cut. Then, use the adjustable stop block to mark where you need to make the cut before finally cutting along this line with your miter saw.
Once complete, you will have perfectly-cut crown molding for your inside corner!
Cutting Crown Molding Corners
Cutting crown molding corners can be a tricky task, but with the right tools and techniques it’s possible to achieve professional results. You’ll need a miter saw or hand saw, coping saw, sandpaper and wood filler to cut and finish the job properly. To begin, use your miter saw to make 45-degree angle cuts on each end of the crown molding piece.
Then hold the molding in place against one corner of your wall while using a coping saw to trim off any excess material that is overhanging from either side. Finally, lightly sand down both sides of the corner joint before filling any gaps with wood filler for an even finish.
Cutting 45 Degree Crown Molding Flat
Cutting 45 degree crown molding flat is a relatively simple process that can be done with the right tools. To begin, you will need to measure and mark your corner angle on the back of the molding before cutting it at a 45-degree angle using either a miter saw or table saw. Once cut, use an adjustable block plane to slowly shave away any excess material until you have achieved an even edge for each joint.
Finally, sand down any rough edges and finish off your perfect 45 degree crown molding!
How to Cut Crown Molding Outside Corners
Cutting crown molding for outside corners is a bit more difficult than inside corners, but with the right tools and knowledge it can be done easily. To start, you’ll need to use a miter saw set at 33.9 degrees on one end of the molding and 31.6 degrees on the other; this will create an angle that forms when two pieces meet up in an outside corner. After cutting both sides of your molding, check to make sure they fit together properly before installing them onto your wall or ceiling.
With practice and patience you’ll be able to cut perfect crown molding outside corners!
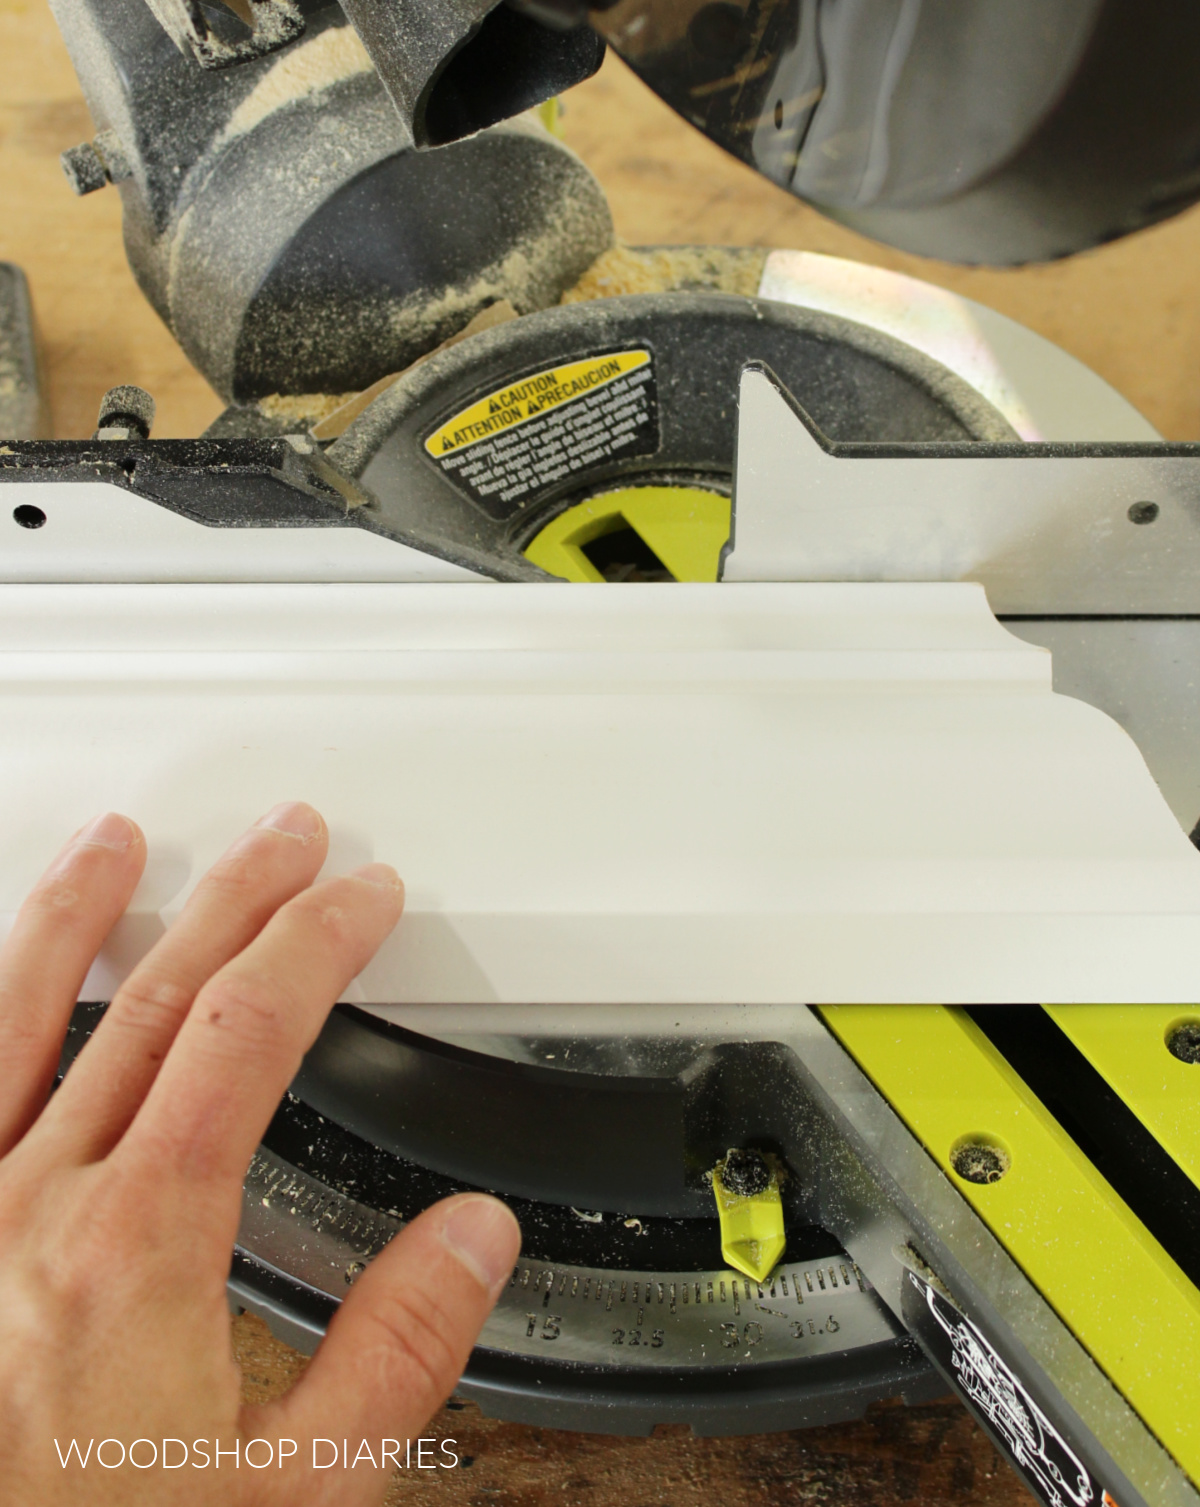
Credit: www.woodshopdiaries.com
How Do You Miter Cut Inside Corner Crown Molding?
To miter cut inside corner crown molding, you will need a miter saw with the proper blade and an adjustable stop block to ensure accuracy. Begin by setting the saw’s angle so that the two pieces of crown molding form a 90-degree angle when placed together. Place one end of the piece against the fence, and slide it forward until it touches the stop block.
Cut at this point on both ends of each piece of crown molding. Once all four cuts have been made, place them together in their respective corners and check for fit before attaching to your wall or ceiling surface.
What Degree Do You Cut Crown Molding Inside Corners?
When cutting crown molding for inside corners, you’ll need to make a 45-degree angle cut. This can be done using a compound miter saw set at an angle of 45 degrees. To ensure that the two pieces of crown molding fit together seamlessly, it’s important to measure and mark each piece correctly before making any cuts.
Additionally, use a quality blade in your saw so that the edges are clean and smooth after cutting. Finally, take your time when making these cuts as precision will be key for achieving perfect results with your project!
How Do You Cut an Inside Corner With a Miter Saw?
Using a miter saw to cut an inside corner is one of the most common tasks that DIYers face when working with wood. To make sure you get neat, precise cuts, it’s important that you set up your saw correctly and have the right technique. Begin by setting the angle of your fence on the miter saw to match the desired angle for your project; this will be determined by how much space needs to be cut away from each side of the board or trim piece.
Next, place your board against the fence and line it up with blade so that you are cutting away from yourself for safety reasons. Finally, turn on your miter saw and slowly lower its blade onto the board until it has reached full depth then release and step back as soon as possible after making sure all pieces are safely out of harm’s way.
What is the Easiest Way to Cut Crown Molding Corners?
The easiest way to cut crown molding corners is by using a compound miter saw. A compound miter saw allows you to adjust the blade angle and make two different cuts simultaneously, which makes it easier to create accurate corner joints. When cutting with a miter saw, you should use an adjustable stop block on the back of your saw so that your cuts are consistent every time.
Additionally, you can use clamps or painter’s tape along the edge of the workpiece to ensure that it stays in place while you’re making your cut. With some practice and patience, cutting crown molding corners with a compound miter saw can be done quickly and accurately.
How to Cut Crown Molding on an Inside Corner with a Miter Saw
Conclusion
This blog post outlined the steps you need to take in order to properly cut crown molding inside corners with a miter saw. It is important to ensure that your miter saw is adjusted correctly and that the angles of both pieces of molding are correct. With these instructions, you should be able to make precise cuts for a perfect fit every time.
Table of Contents